Project 1
- Alex Whaa
- Feb 13, 2018
- 4 min read
Updated: Mar 13, 2018
For the first project, I would like to create a Numemon-esque monster that would be dynamic, interactive, and engaging.

For context, this is Numemon.
I plan on creating a lime green and purple slime monster with a single eye protruding from it's sludge-like body. I would ideally like to 3d print a model of Numemon, and later color it using paint. I'd also like to have the tongue falling out of his mouth with the ability to rotate around using a motor. I'd also like to have a LED in the protruding eyeball, that interacts with the user as they press a button multiple times.
The purpose of this toy would be it's nostalgic design aesthetic, interactivity, and engagement. The main user of this toy would be anyone who finds crude monsters entertaining, Digimon enthusiasts/nostalgists, model collectors, and children.
Parts:
Motor
LEDs
Button
Possibly a potentiameter
Capacitor
Hookup Wire
Breadboard
Arduino (Redboard)
Solder
PLA
Spray Paint
Drawing of Interaction:

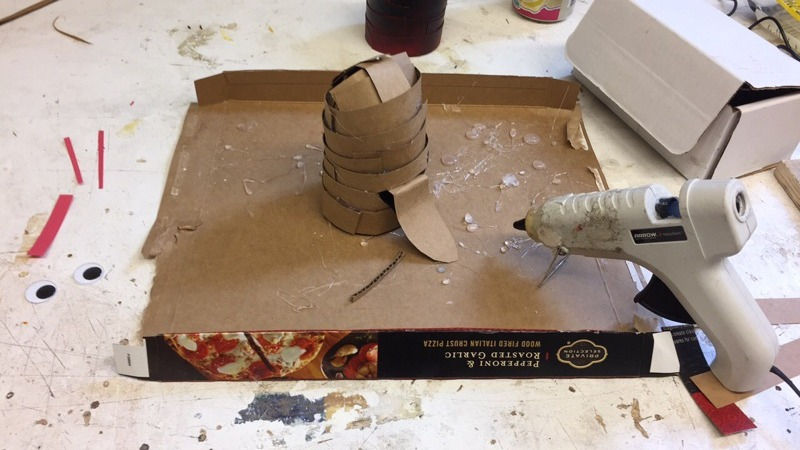
First Prototype:

Final Product:
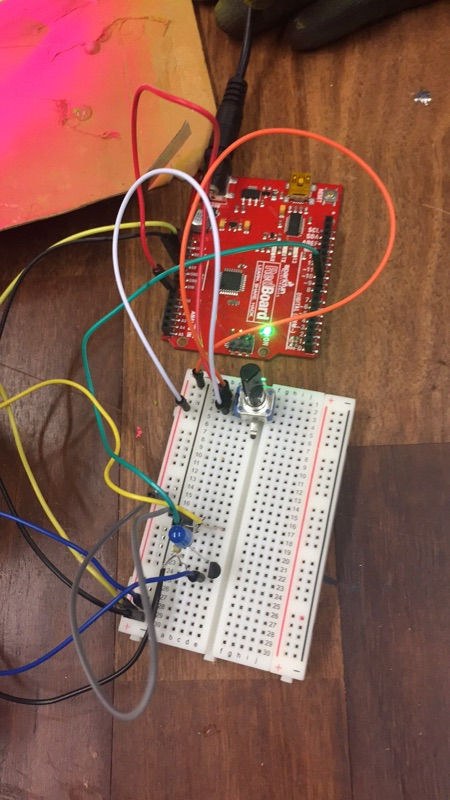
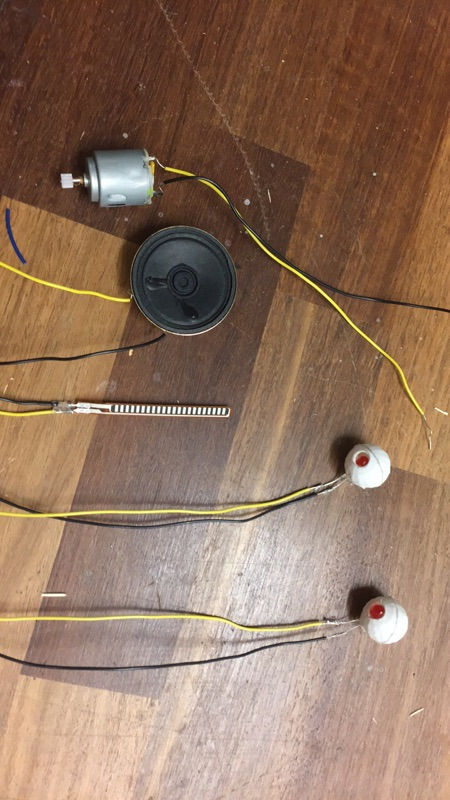
For this project, I wanted to make an interactive toy based off of the digimon called 'Numemon'. This particular creature is known in the series for being a comedic relief, often featuring large groups of them showing up and being chased off by the main characters. They are often found in sewers and cause havoc by throwing pink poop at people and being extremely dumb. I wanted to convey this personality through the toy itself, by making it playful and interesting to interact with. I focused on his massive tongue, as that is one of his most notable qualities. I decided to a DC motor with speed controlled by a potentiometer to create a spinning tongue. I then decided it would be fun to interact with the eye stalks of the actual creature, and so I placed a flex sensor in the right stalk and had that control the brightness and tone from a speaker. This was to mimic the idea that you were bending his eyes and hurting him, making him angry so his eyes light up and he screams at you. I then placed the motor and stalks inside a 3D printed body that I made from a model from a digimon mobile game. The LED eyes were placed in 3D printed eyeballs made from the same model, and then the wires and flex sensor were then covered using pipe cleaner. Originally I wanted to print the monster big enough to include all of the circuitry inside of his body, however due to limitations of green PLA, I had to decrease the size and instead lasercut a box for him to sit on, which would hold the components instead. The box itself holds the breadboard, arduino, all of the circuits, has a place for the potentiometer, speaker, and power cord. The potentiometer in the front of the box is the main interaction, and the flex sensor is a little less intuitive, however the eye stalks are the only soft/malleable surface to interact with. This makes them stand out and makes people want to bend them, and in turn they receive the tone and LEDs. I encountered quite a bit of trouble during this project including limitations due to the 3D printer and its materials, many circuitry errors, and functionality once put together. Like I stated before, I wanted to make this project a lot bigger, however I had to modify the size because my model required a lot of PLA (this size took 30 feet and didn't even finish, was project to take 28). I also encountered a problem where, although my models were hollow, they required a lot of support material inside and so they ended up not being hollow at all. I then had to dremel through the entire print (eyeballs and body) in order to clear space to place the components and wiring. I encountered many circuitry errors including the fact that I wasn't using a transistor for my DC motor, I was using a faulty potentiometer that wasn't giving correct readings for awhile, and problems getting the flex sensor to read properly. However, with the help of a fellow student in another class (Andrew) and a lot of online research I was able to figure out the errors I had made and fix these problems. Once I had everything done and I needed to put everything together, I encountered probably the majority of my problems. I kept having to make adjustments to the box itself including spaces for a potentiometer and speaker (because they were originally supposed to be in the model) and a space on top for the wires to come down from the model. Once I had put everything together, the interactions weren't working and so I had to investigate the issue, only to find that wire were coming loose from the breadboard once placed inside the enclosure. This was extremely frustrating as I had to keep adjusting the placement of everything until I got things to work. However, after a lot of diligence I was able to make the full enclosure with working interactions.
Laser-cut Box:

Soldered Components -
Full Enclosure Front -

Full Enclosure Back -

Full Enclosure Inside -

Full Enclosure Circuitry -

Video Example of Potentiometer and DC Motor Tongue:
Video Example of Flex Sensor Reactive LED Eyes and Sound:
Code:
https://gist.github.com/anonymous/ccc45ae2f2bd27ad07c5bbe0408487a6
Schematic:


Comments